

 English

DIY: How to decorate furniture with wallpaper
- MIV Interiores
- 5405 likes
- 10038 views
- 0 comments
Today we bring you a most original, practical and sustainable DIY. Our intention is, on the one hand, to give a new look to those older pieces of furniture that we have at home and to be able to renovate them and, on the other hand, to recycle materials, such as the papers we use to cover walls, also known as wallpapers. An alternative that allows us to renovate or change furniture in an economical and very personal way.
Surely if you have ever covered a wall, you still have scraps of paper at home that you have not thrown away with the intention of reusing them, but that until today you had not thought of how. Well, if this is your case, you can already use those rolls of patterned paper and think about what furniture you want to restore, because today we will learn how to cover our decorative accessories with paper to cover walls.
The good thing about this DIY is that we can renew furniture of all kinds with and any intention. For example, if it is the typical outdated piece of furniture that no longer goes with our style of home or simply because of our mood.
What we need:
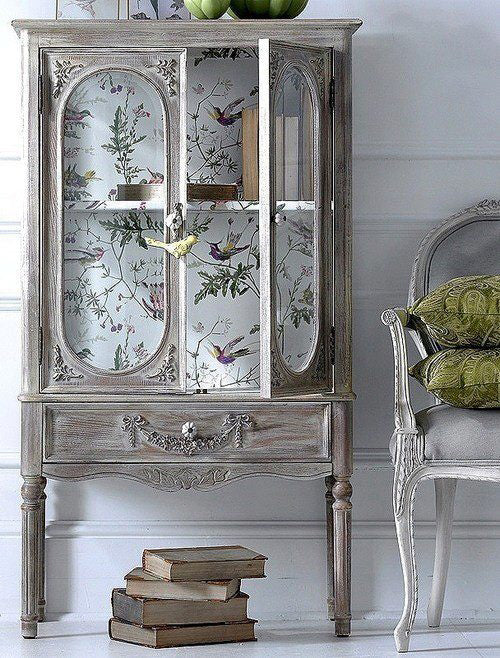
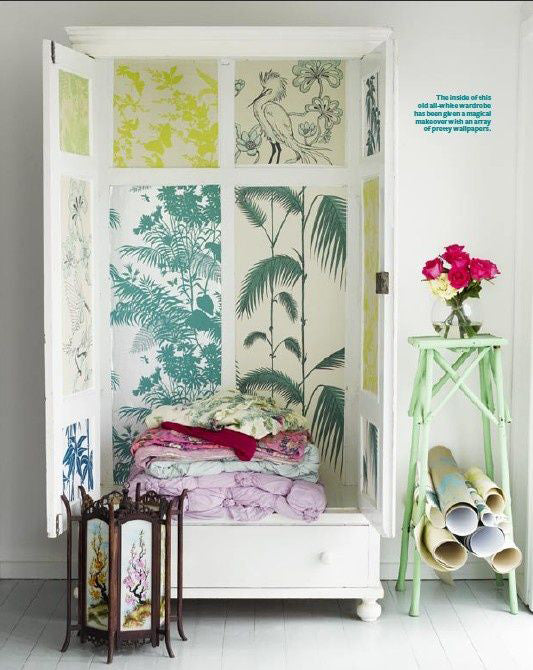
Don't forget that we can line both the outside and the inside of furniture, in fact it is becoming more and more trendy to find drawers, wardrobes, picture frames, shelves... Lined on the inside with creative prints.
For the rooms of the little ones in the house it is a very fun proposal, in addition to the fact that they can help us and have a great time cutting papers, the look of the bedroom will be the most cheerful and original.

Started!
Before gluing our paper we must sand the surface of the furniture well to remove possible impurities. Now we have to decide which parts of the furniture we are going to cover and cut it out in pieces. It is better to leave a couple of extra centimeters in case we have to rectify our cuts.
If our furniture needs a paint base, either because it is very damaged or simply because we want it to have a different style, now is the time to paint it.
When the paint has dried we can start decorating with our wallpaper. We will spray the base of the furniture with the adhesive spray and we will place the pieces of paper to leave it covered. To avoid imperfections and wrinkles in the paper, we can help ourselves with a sponge or a cloth and press on the paper little by little.
That's it! We can now place our furniture wherever we want and show off as the DIY and craft experts that we are.
The following tutorial explains step by step how to upholster our furniture.
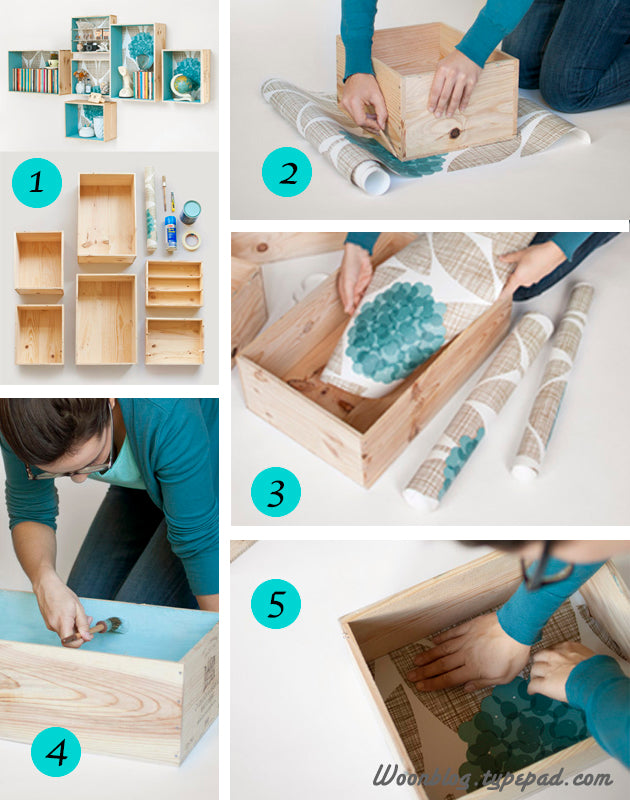


Shelves lined inside and out.
And if you're lazier or crafts don't suit you much... At Miv Interiores we make it easier for you, with furniture like these in which paper is already incorporated or as the first option, a perfectly prepared display case so you don't have to worry about anything other than choosing paper and lining.

1.- CountrySide Display Case (various colors)
4.- Ferns Wardrobe
Comments (0)